To schedule a synchronization, start by clicking on the 'Create a Schedule' button (

) on the toolbar, select the
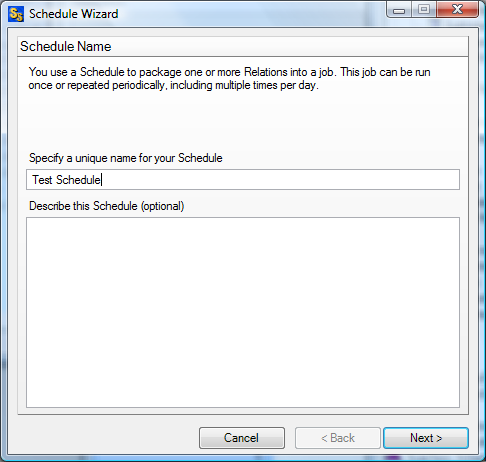
File | New | Schedule command from the menu bar, or right click on the Schedules folder and select New Schedule to access the Schedule Wizard. Step 1 of the Schedule Wizard will then be displayed.
On this panel you should enter a unique name for your Schedule.
You can also enter an optional description in the 'Describe this Schedule" text box.
If, at any stage before you finish the Schedule Wizard, you decide not to schedule the synchronization, click on the Cancel button to exit the Schedule Wizard without saving your settings.
This help file will move through the wizard in the same order you will see the panels in the actual program. To move forward a panel, click the forward button.


 ) on the toolbar, select the File | New | Schedule command from the menu bar, or right click on the Schedules folder and select New Schedule to access the Schedule Wizard. Step 1 of the Schedule Wizard will then be displayed.